I’ve created a few single file intros now and have been interested in expanding out to something bigger. There are some pretty awesome one file demos around that I’d like to work my way towards, but I’d also like to be able to have the option to load content off disk. From some initial research, I found there were a handful of common loaders around that people used. My first thought was to dive in and learn to use one. Before I do that however, I wanted to take a step back and start from the start to gain a much deeper understanding of how loaders evolved. Many of the demos I grew up with in the late 80’s and early 90’s contained multiple parts that were loaded separately off disk (or tape) and I felt this would be a good starting point.
The goal here is to build a small loader program that could be used to load up and run a part. Once the part was finished, it could then call out to the loader to load up the next part (and so on). To do this, i’ll use some Kernal functions. This style of loader won’t be running the next mega demo, but as a starting point should be an interesting exercise. 🙂 It turned out to be much simpler than I had originally expected, so let’s run through a breakdown of the code.
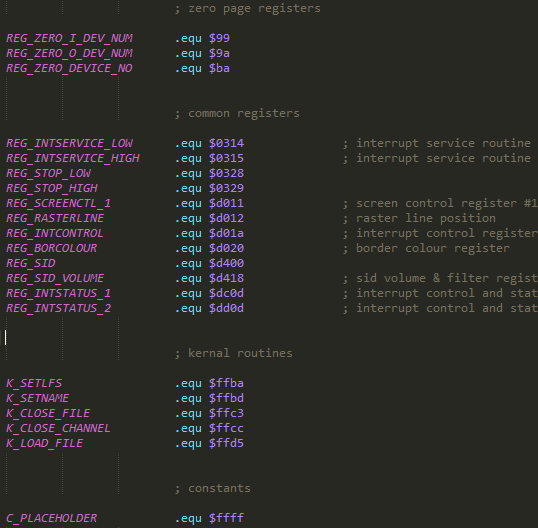
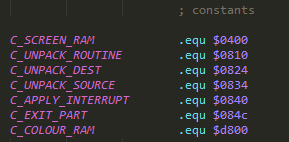
To start with, I define a number of constants. The three most interesting ones here are for SETLFS , SETNAME and LOAD which point to the kernal routines. SETLFS and SETNAME must be called before calling LOAD.
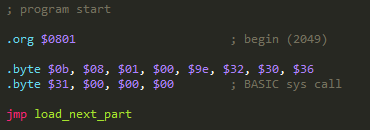
I start with a standard SYS call so the loader will run from BASIC. The first step in loading the next part would normally be to clean up the state of memory and registers from the existing part. But since there is no existing part, we want to skip that here and jump directly to loading the first demo part.
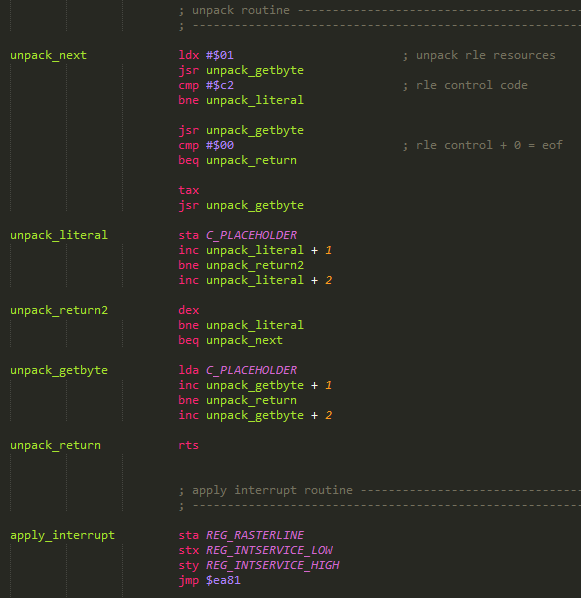
The next block of code isn’t directly related to the loader itself. To keep parts smaller, I felt in some cases it would be wiser to include common functions as part of the loader code. That way they are loaded once at start up, which then cuts down load times on the parts later on. Here I have a routine to unpack RLE compressed resources and apply an interrupt.
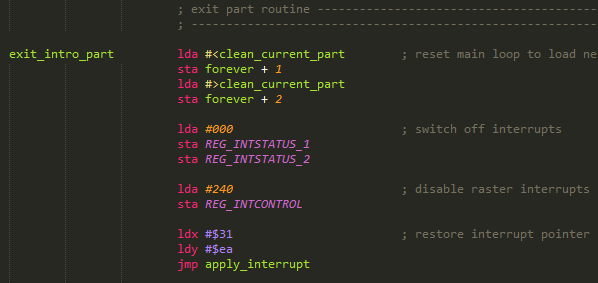
The first routine to cover in the loader is exit_intro_part. This routine should be called by the part when it’s ready to advance forward in the demo. Apart from the common routines above, this is the only loader routine each part needs to know about. The loader assumes each part will nicely transition out to a black screen. That could mean moving sprites off screen or fading out colours (or music) for example. Each part will be different and the loader shouldn’t be responsible for any of that. This short routine restores the interrupt pointer at $ea31 and breaks the forever loop the loader sits in and forces it to jump several memory positions back so it will now be forced to perform some standard clean up, load the next part, sync it and then resume it’s forever loop. Jumping to this routine is all the demo part has to do. The loader will now take over. It’s assumed this routine is called from within an interrupt caused by the intro part.
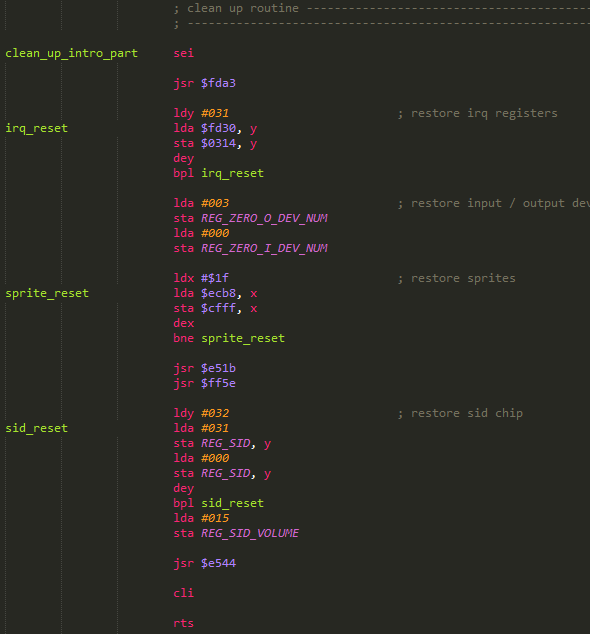
Before loading a new part, the loader will take care of some general clean up on the state of the C64 memory and registers. This includes restoring the state of several zero pare registers, SID state, sprites and so on. Interrupts are disabled while this is executed. There is rom code to restore the sprite register state, but it goes a little too far and also restores $d020 and $d021 which control the border and background colours. I don’t want this as I want the border and screen to remain black at all times during the clean up, so I copied out the required parts and manually run them here.
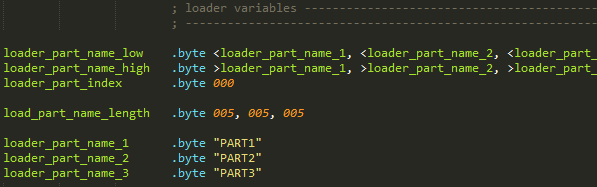
Time to define some variables for the loader to use. It doesn’t require much more than a list of files to load. I define a series of file names and to keep it simple, I went with “PART1”, “PART2” and “PART3”. I then store the high and low bytes along with the length of each one in additional tables. These tables can then be used by the load_part routine. I’ve also included a part index variable to keep track of the part number we’re up to. It’s updated as each part is loaded, but not used again.
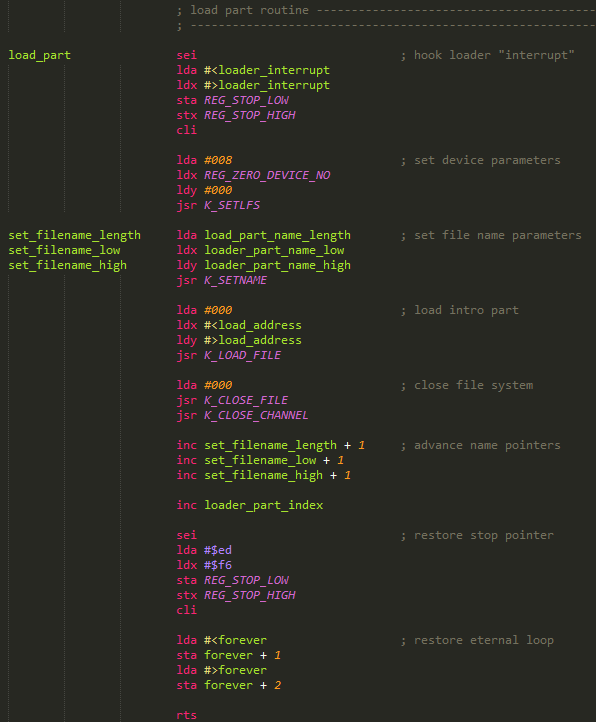
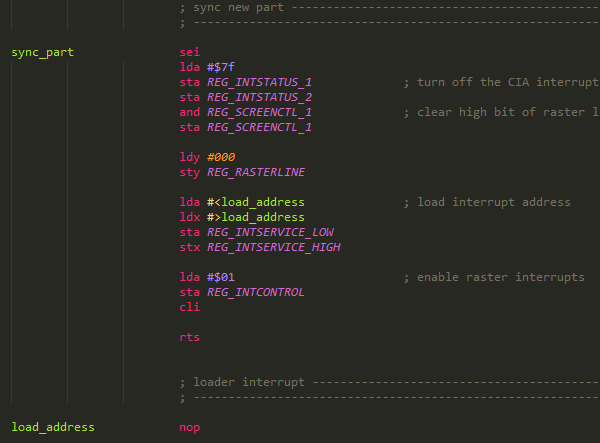
The main body of the loader. The loader itself is made up of 3 routines. First is to perform some clean up, second is to load the new part and the third is to hook up the entry point to an interrupt so it can begin. After that, the loader enters a forever loop until the exit_intro_part routine is called which will jump up to the clean_current_part label.

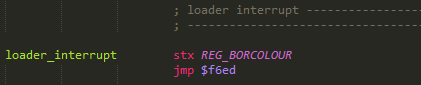
The first thing to do in the load_part routine is to set up the loader “interrupt”. I put interrupt in quotes as it’s not really an interrupt, but changing the pointer of a routine to check the state of the STOP key. Interrupts are disabled before doing this just in case an interrupt was to occur while in the middle of updating the pointer. I then run through the sequence of calling the kernal routines to setup the load (SETLFS and SETNAME), followed by calling LOAD. This will then load the data off disk into the memory address provided to LOAD (X/Y registers). At times during the load, the STOP routine will be called, which now points to our loader interrupt (which will change the border colour). Once the load is complete, I advance the name pointers and restore the stop pointer to its default address ($f6ed). We can now restore the forever jump in the main loop. This step could be done at the end of the sync_part routine also – I chose to add it here.
To keep the loader light weight and simple, the “interrupt” called simply changes the border colour. You could do more here to make the load process more interesting visually, but obviously keep in mind the state of registers and memory while doing this and the more time spent animating during the load, the longer the load time.
Finally, once the part is loaded, an interrupt it set up to occur and execute the block of code loaded into “load_address”. I use this for part setup like unpacking resources, setting up tables, etc.
That’s it. The loader is done. Now, within each part to be loaded, I define a few constants for routines and addresses set out by the loader. These addresses may change depending on further changes to the loader, so it’s something to keep in mind and update when required.
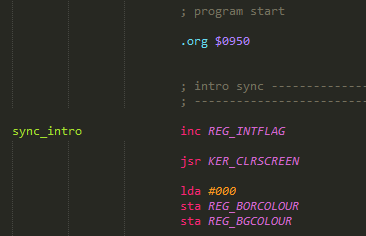
Each intro part needs to start at $0950. This can/will change if the loader itself changes, so keep this in mind. No BASIC sys call required or set up. The sync_intro interrupt will be set up by the loader once it’s done loading, which kicks off the part.
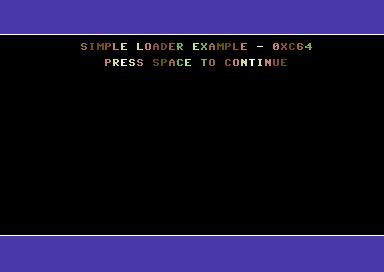
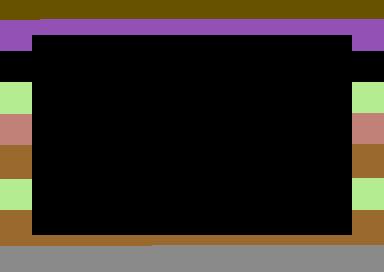
To test the loader, I put together 3 small intro parts. The first simply gives a wide screen effect and some colour cycling. The second plays a music track and the third is a generic 1×1 hardware text scroller with some raster bars behind it. To advance past each part, simply press the space bar. None of the parts have smooth transitions out – it’s not required here. I simply needed some small parts I could load, execute and then move onto the next with.
Between each part, we can see the border change colour as the loader “interrupt” is called.
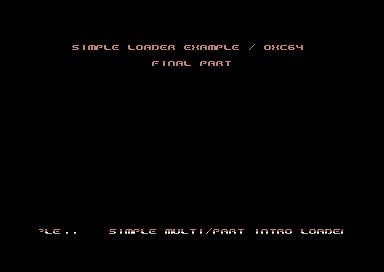
.. and then the final part. Each part exits correctly and the new parts load (and start) as expected.
We now have a loader that can clean up and load new parts when desired, while showing some sort of animation during the load. This is just the tip of the ice berg however. Replacing the kernal routines with custom loader code will take some time investment and it’s probably well worth looking at existing common loaders (like the one done by Krill) in more detail. As an exercise though, I’m happy with how it turned out and hope to make small improvements on it as my understanding develops.
The source code can be downloaded at GitHub: [Link]
A compiled version of the code and .D64 disk image can be downloaded here: [Link]
Hello,
I’ve been compiling your loader in KickAssambler, and I’m going to use it in one of my games.
I will mention you as creator if I have your permission.
Regards!
Awesome – Go for it! When you’re game takes shape, would love to see how it turns out!
Thanks, I’m on it !!
Hi,
I already posted the game
This is the link:
http://csdb.dk/release/?id=156299