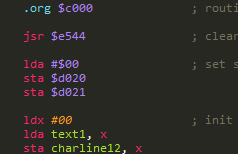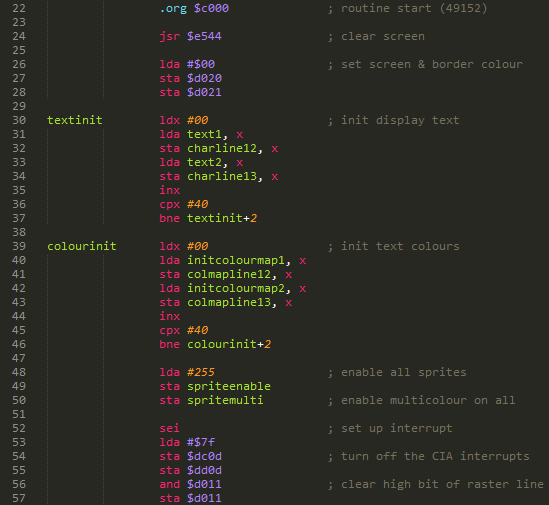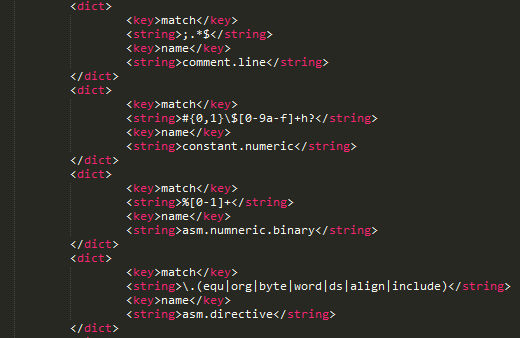
Since posting screen shots of my code in previous posts, I’ve received a number of queries from people asking about what editor I’m using and what the syntax highlighting is. So I thought I’d go into it quickly.
My choice of editor is Sublime Text 2. I find it the most feature packed and flexible editor around. Plus I can use it on the Mac, Linux and Windows to maintain a consistent editing environment. When I began writing 6510 assembly a few weeks back, I couldn’t find much in the way of syntax highlighting for it. Once I settled on using the win2c64 assembler, I set about creating a custom theme and syntax highlighting definition to use with it.

There are two parts to the colour scheme – the theme and the syntax highlighting.
The theme is simply titled “Monokai Extended”, which contains all the default definitions of Monokai, plus a handful of additional definitions I’ve added to use with a custom syntax.
The custom syntax highlighting was written for use with assembly files to be compiled by win2c64. In its current state, it’s about 95% complete. There are a few edge cases I still need to sort out, but for now at least, it’s very usable.
The syntax file is an XML file, the contains a series of regular expressions to match the desired elements within a document. The theme file defines how the text will appear in terms of colour and style. They are very readable and are worth opening up to have a closer look at. Making custom changes is quite easy.

Both the theme and syntax highlighting files can be downloaded here, and are available for anyone to use.
To install the theme, simply copy it to the “Color Scheme – Default” folder under your Sublime Text 2 Packages folder.
To install the syntax highlighting, copy the file to the “User” folder under your Sublime Text 2 Packages folder.
